Pruning
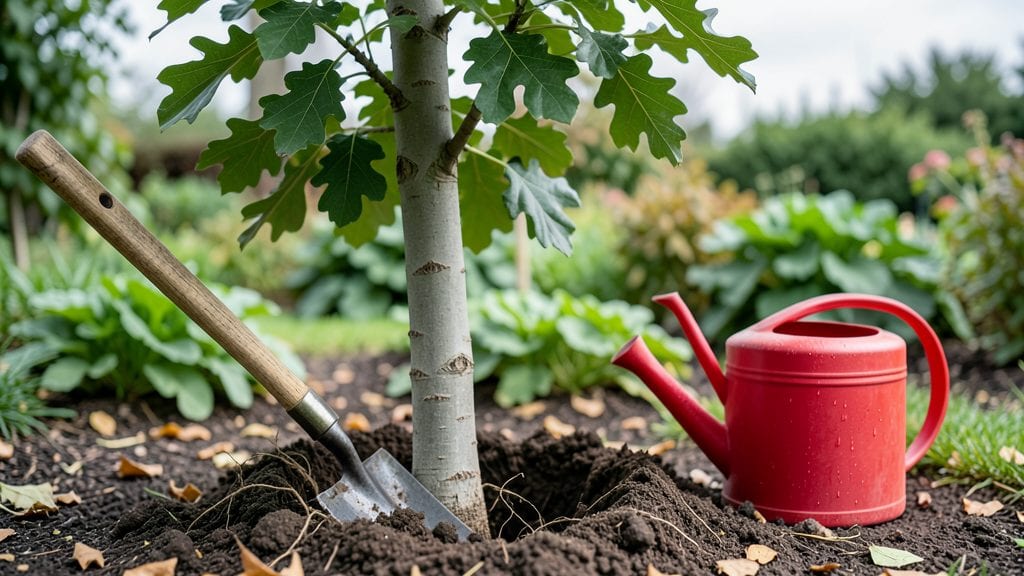
A thriving tree starts with the right tree planting tips—here’s how to give your sapling decades of strength, not just a fragile first year. ✨ I’ve watched saplings wither because of shallow roots or poor soil, and I’ll save you that heartache with the exact steps that make all the difference.
The secret isn’t just digging a hole; it’s about timing, soil prep, and how you handle those roots before backfilling.
Start by picking the right spot—sunlight matters just as much as space. Deciduous trees need room to spread, while conifers can handle tighter spots but still require good drainage. Dig the hole twice as wide as the root ball but no deeper, then loosen the soil at the bottom.
This prevents compaction and encourages roots to branch out naturally.
Once the tree’s in, backfill with native soil (no amendments—roots need to adjust to their environment). Water deeply to settle the soil, then add a 2- to 3-inch layer of mulch, keeping it away from the trunk.
This keeps moisture in and weeds out, giving your tree the best start. Within a year, you’ll see strong growth if you nail these steps.
Seasonal timing is everything—spring or fall planting gives roots time to establish before extreme heat or cold. Evergreens need extra care in winter, while fruit trees planted in early spring avoid late frosts. Stick with these tips, and your tree won’t just live—it’ll thrive for generations.
📚 In This Guide
- What you need
- Instructions
- Tips and common mistakes
- Wrapping up and next steps
What you need
- ● Tree seedlings or saplings: Choose healthy, disease-free specimens (1-3 per planting session, depending on space). Opt for bare-root or container-grown trees based on your climate and season.
- ● Shovel or spade: A digging shovel (18-24 inches wide) for planting holes and a transplant spade for delicate root systems.
- ● Garden fork or tiller: Loosens compacted soil (especially clay-heavy areas) to improve root penetration.
- ● Measuring tape or ruler: Ensures proper planting depth (usually 2-3 times the root ball’s diameter).
- ● Compost or organic matter: 2-3 gallons of well-aged compost, leaf mold, or peat moss to enrich the soil.
- ● Mulch: 2-4 inches of wood chips, straw, or pine needles (avoid fresh wood or rocks near the trunk).
- ● Watering can or hose with a gentle nozzle: 5-10 gallons of water per tree for initial soaking.
- ● Gloves and knee pads: Protect your hands and joints during digging!
- ● Tree support stake: Only for young, top-heavy trees (e.g., willows or fruit trees). Use 3-foot stakes with soft rubber or fabric ties—never wire!
- ● Soil pH test kit: Adjust soil acidity/alkalinity if needed (e.g., sulfur for acid-loving trees like azaleas).
- ● Root stimulator: A mycorrhizal inoculant or liquid fertilizer (follow label instructions).
- ● Pruning shears: For trimming damaged roots or branches post-planting.
- ● Soil probe: Checks drainage depth before planting.
Step-by-step instructions for planting trees with strong roots
Here's how I plant trees for lasting strength—seasonal timing and proper technique make all the difference.
🌱 Step 1: Choose the Right Time and Dig the Perfect Hole
Plant in early spring or fall when temperatures are cool but soil isn't frozen—this gives roots time to establish before summer heat. Dig a hole twice as wide as the root ball but no deeper—roots need room to spread horizontally, not sink vertically. I always check the depth by placing the tree in the hole; the top of the root ball should sit 1-2 inches above ground level to prevent settling.
Loosen the sides of the hole with a shovel or hands to remove compaction. If your soil is heavy clay, mix in 2-3 inches of compost from the ingredients list into the bottom of the hole—this improves drainage and root growth. Avoid adding fertilizer now; new roots need time to establish before competing for nutrients.
🪴 Step 2: Prepare the Tree and Backfill Carefully
Remove the tree from its container and gently loosen the root ball if it's tightly bound. If planting a balled-and-burlapped tree, cut away any circling roots or thick burlap that might girdle the trunk. Place the tree in the hole so it stands straight—use a level to check. The trunk flare (where roots meet the trunk) should be visible above the soil line; burying it too deep suffocates the tree.
Backfill with the native soil you removed, tamping lightly every 6 inches to eliminate air pockets. Water deeply as you fill to settle the soil naturally. Once the hole is full, create a 2-3 inch deep basin around the outer edge to direct water toward the roots during irrigation. Avoid compacting the soil around the base—roots need loose soil to expand.
💧 Step 3: Water Thoroughly and Mulch Correctly
Water the tree deeply and slowly until the soil is moist 12 inches down—this encourages roots to grow deeper. I use a soaker hose or drip irrigation to avoid disturbing the soil surface. After watering, spread 3 inches of mulch (like shredded bark) in a 3-foot diameter circle around the tree, keeping it 6 inches away from the trunk to prevent rot. Mulch retains moisture and regulates soil temperature, but too much suffocates roots.
Water again after mulching to help it settle and make contact with the soil. Over the next 2-3 weeks, check the soil moisture weekly—you'll know it's time to water again when the top 2 inches feel dry. Avoid letting the soil dry out completely during the first growing season; consistent moisture is critical for root development.
☀️ Step 4: Stake Only When Necessary and Prune for Health
Stake only if the tree is leaning or in a windy location, using two stakes placed 6-12 inches from the trunk and tied loosely with soft fabric strips—never wire, which can cut into the bark. The goal is to provide temporary support, not restrict movement. If staking, remove the ties after 6-12 months so the tree strengthens naturally.
Prune only to remove broken, crossing, or diseased branches—never to shape the tree at planting. Use clean, sharp pruners to make cuts just outside the branch collar (the swollen area where the branch meets the trunk). Avoid heavy pruning now; it stresses the tree when it's already adjusting to its new home. Focus on keeping the canopy balanced for even growth.
⏰ Step 5: Monitor and Adjust for Long-Term Success
Check the tree weekly for signs of stress: yellowing leaves, wilting, or pest activity. If leaves yellow, it’s often overwatering or poor drainage—adjust your watering schedule. If the trunk shows cracks or peeling bark, the tree may be drying out too quickly; add more mulch or water more frequently. I always keep a gardening journal to track watering, weather, and growth—it helps spot issues early.
After the first year, gradually reduce watering as roots extend deeper. By year two, the tree should be self-sufficient if planted correctly. If you notice new shoots at the base, trim them to encourage energy toward the main trunk. With proper care, your tree will develop a strong root system and thrive for decades.
Tips & tricks for planting trees with strong roots
Here's what I've learned after planting dozens of trees—these small details make all the difference between a tree that thrives and one that struggles.
Seasonal Timing is Everything: Early spring or fall is critical because summer heat stresses young roots while winter cold can damage them. I always check the soil temperature—it should be above 40°F but not yet hot. Planting in these windows gives roots 6-8 weeks of ideal growing conditions before extreme weather arrives. Don't rush it—waiting for the perfect window prevents transplant shock.
The Hole Depth Secret: That 1-2 inch above ground level for the root ball isn't just a suggestion—it's essential. Burying too deep suffocates the tree, while too high exposes roots to drying. I use a simple trick: place the tree in the hole, then check with a level. The top of the root ball should sit just below where the trunk starts to flare outward. This ensures proper oxygen flow while protecting roots.
Watering Wisdom: Those 12 inches deep of moisture aren't just about quantity—they're about quality. I use a soil probe to check moisture levels because visual cues can be deceiving. For the first 2-3 weeks, I water every 3-4 days (not daily!) to encourage deep root growth. The key is consistent moisture, not soggy soil—think of it like giving your tree a drink that lasts.
Mulch Matters More Than You Think: The 3-inch layer of mulch isn't just decoration—it's insulation. I always keep it 6 inches away from the trunk to prevent rot, but I do add a thicker layer (up to 4 inches) in the first year for extra protection. The mulch should look like a doughnut around the tree, not a volcano. This setup keeps roots cool in summer and warm in winter while suppressing weeds.
Pro Tips for Tree Planting Tips
- Here's what I've learned after planting dozens of trees—these small details make all the difference between a tree that thrives and one that struggles.
- Seasonal Timing is Everything: Early spring or fall is critical because summer heat stresses young roots while winter cold can damage them.
- The Hole Depth Secret: That 1-2 inch above ground level for the root ball isn't just a suggestion—it's essential.
Frequently asked questions
Got questions about planting trees like a pro? You’re in the right place! Here are some of the most common concerns—and straightforward answers—to help you grow confidently.
When is the best time to plant a tree?
The ideal window is early spring or fall (4–6 weeks before the first frost). These seasons offer cooler temps, moderate rainfall, and minimal competition from weeds. Avoid planting in extreme heat or drought—your tree’s roots will thank you!
How much water does a newly planted tree need?
Water deeply 2–3 times per week for the first year, giving it 10–15 gallons per watering (adjust for soil type). Mulch helps retain moisture, but avoid piling it against the trunk. Let the soil dry slightly between waterings to prevent root rot.
Can I plant a tree in a small yard or container?
Yes! Dwarf or columnar varieties (like Japanese maples or columnar apple trees) thrive in tight spaces. For containers, choose large pots (15+ gallons) with drainage holes and use well-draining soil. Just remember: Container trees may need more frequent watering and repotting every 2–3 years.
What should I do if my tree’s leaves turn yellow?
Yellow leaves often signal overwatering, poor drainage, or nutrient deficiencies. Check the soil—it should feel moist but not soggy. If the problem persists, test your soil’s pH and amend with compost or fertilizer. Fungal issues? Prune affected branches and avoid watering overhead.
Are there low-maintenance trees for beginners?
Try Crape Myrtle (drought-tolerant), Dogwood (easy care), or Redbud (fast-growing). Avoid fast-growing but high-maintenance trees like willows. Native species are also a great choice—they adapt better to local conditions and pests.
Wrapping up and next steps
Planting trees is a rewarding way to nurture the environment while adding beauty and value to your space. 🌱 By choosing the right season, preparing the soil, and giving your sapling the care it needs, you’ll set the stage for strong, thriving roots.
Whether you're a beginner or a seasoned gardener, every tree you plant makes a difference—so grab your gloves and get growing!
Ready to take the next step? Start small—plant one tree today and watch it grow into a lasting legacy. Need more guidance? Check out our seasonal planting calendar or explore local tree species recommendations to keep your green thumb flourishing!