Pruning
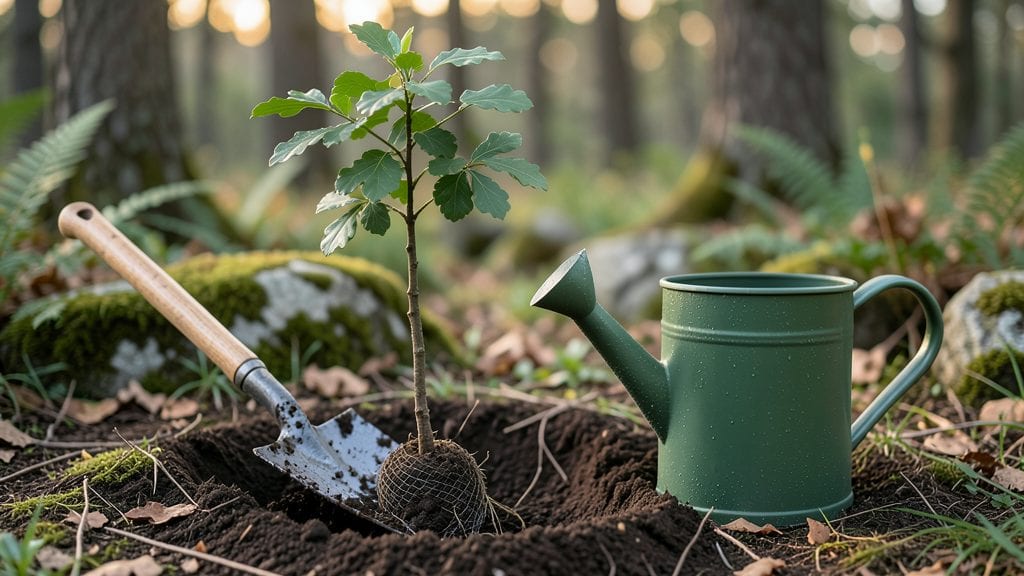
The right tree planting process starts with a hole twice as wide as the root ball and just as deep—this single step makes all the difference for long-term stability. I learned the hard way when my first oak leaned after a windstorm because the hole was too shallow.
The secret isn't just digging deeper; it's about creating space for roots to spread naturally without circling, which strangles growth over time.
You'll need basic tools—a shovel, wheelbarrow, and hose—plus a sturdy stake if your tree needs temporary support. For container-grown trees, tease the roots gently at the bottom before lowering them in, while bare-root trees should soak overnight first.
The goal is to handle roots like you'd handle a fragile treasure, not a handful of sticks. Most people rush this part, but taking 10 extra minutes here prevents years of struggle later.
After planting, water deeply until the soil settles—you should see water pooling at the surface. Mulch around the base (but not touching the trunk) to lock in moisture and keep weeds at bay.
Within a month, you'll notice new shoots forming as roots establish, and by next spring, your tree will look like it's been there for decades. The key is patience; strong roots take time, but the payoff is a tree that thrives for generations.
This method works for everything from shade trees to fruit-bearing varieties, though young trees need extra care during their first two years. Whether you're planting a single specimen or restoring a whole landscape, these steps ensure your investment grows strong. Let's get those roots settled right from the start.
📚 In This Guide
- What you need
- Instructions
- Tips and common mistakes
- Wrapping up and next steps
What you need
- ● Tree sapling – Choose a healthy, bare-root or container-grown tree (age/height depends on species; young trees ~6–12 ft are ideal for most projects).
- ● Shovel or tree spade – A digging shovel (for general use) or a tree spade (for minimal root disturbance) to create the planting hole.
- ● Garden gloves – Heavy-duty, waterproof gloves to protect your hands from thorns, dirt, and sharp tools.
- ● Watering can or hose – A 5-gallon capacity watering can or a hose with a gentle spray nozzle for thorough hydration.
- ● Mulch – 2–4 inches of organic mulch (e.g., wood chips, straw, or shredded bark) to retain moisture and suppress weeds.
- ○ Soil amendment (optional but helpful) – A 5–10 gallon bag of compost or native soil mix to improve drainage and nutrient content.
- ● Staking materials (if needed) – 2–3 wooden or metal stakes (4–6 ft tall) and soft tree ties to support young, top-heavy trees in windy areas.
- ● Planting site – A location with 6+ hours of sunlight daily (adjust for shade-tolerant species) and 6+ feet of clearance from structures, power lines, or other trees.
- ● Soil test (recommended) – Check your soil’s pH and nutrient levels (kits available at garden centers) to avoid planting in poor conditions.
- ● Weather window – Aim for cooler days (spring/fall) to reduce transplant shock; avoid extreme heat or frost.
- ● Permits (check local laws) – Some areas require permits for planting near sidewalks, streets, or protected lands.
- ● 🌡️ Test the hole depth: The hole should be 2–3 times wider than the root ball but only as deep as the root system (no deeper!).
- ● ✨ Water before planting: Soak the root ball 1–2 hours before transplanting to reduce shock.
- ● 🎯 Avoid over-mulching: Keep mulch 3–4 inches away from the tree trunk to prevent rot.
Tree planting process: Step-by-Step guide for strong root growth
Planting trees properly ensures they thrive for decades—here’s how to do it right.
Choose the Right Location and Dig the Proper Hole
Select a spot with 6+ hours of sunlight daily and room for the tree’s mature size. Avoid low areas where water pools. Use a shovel or tree spade to dig a hole twice as wide as the root ball but no deeper—this prevents soil from settling and suffocating roots. Loosen the sides of the hole with your shovel to encourage root spread.
Check the hole’s depth by placing the root ball inside—it should sit 1-2 inches above ground level at planting time. If the hole is too shallow, add a layer of soil at the bottom. If too deep, remove some soil. The goal is a snug fit without forcing the roots downward.
Prepare the Root Ball and Backfill with Native Soil
Remove the tree from its container and gently loosen the root ball with your fingers. If roots are circling tightly (a common issue with container-grown trees), make 2-3 vertical cuts around the edges to encourage outward growth. This step prevents girdling, where roots strangle the trunk as the tree matures.
Backfill the hole with the native soil you removed, tamping it lightly every 4-6 inches to eliminate air pockets. Avoid amending the soil with compost or fertilizer at planting—this can burn tender roots. Instead, focus on firm but not compacted soil around the root ball.
Water Deeply and Apply Mulch for Moisture Retention
Water the newly planted tree deeply—about 10 gallons—until moisture seeps 6-12 inches down into the soil. This encourages roots to grow outward rather than staying shallow. Let the water absorb completely before adding 2-3 inches of mulch (like wood chips or bark) in a 3-foot diameter ring around the base.
Keep mulch 6 inches away from the trunk to prevent rot. This layer locks in moisture, regulates soil temperature, and suppresses weeds. Water again 2-3 days later to settle the mulch and ensure the root zone stays hydrated. Overwatering now can suffocate roots, so aim for deep, infrequent watering rather than light daily doses.
Stake Only If Necessary and Monitor for Early Signs of Stress
Stake the tree only if it’s top-heavy or in a windy location. Use two stakes placed diagonally and tie the trunk loosely with soft tree ties or strips of old T-shirt fabric—never wire, which can cut into the bark as the tree grows. Leave room for the trunk to sway slightly; this builds strength.
Watch for wilting leaves, yellowing foliage, or fungal spots in the first 2-4 weeks—these are signs of overwatering, poor drainage, or transplant shock. If you see these, adjust your watering schedule or check the planting site for issues like compacted soil. A healthy tree will show new growth within 4-6 weeks and firm, stable roots when gently tugged at the base.
Tips & tricks for perfect tree planting
Here's what I've learned from years of planting trees that grow strong and healthy for decades.
Location is Everything: Before digging, scout the area for at least 6+ hours of direct sunlight daily. I always check the sun's path across the yard at different times of day—morning sun is gentler, while afternoon sun can stress some species. Avoid spots where water pools after rain, as soggy roots lead to rot within weeks.
Root Ball Preparation: When loosening the root ball in Step 2, I make sure to gently separate any circling roots with my fingers first. If roots are tightly bound, those 2-3 vertical cuts make all the difference—they prevent girdling, which can strangle your tree as it matures. Use a butter knife if your fingers aren't enough, but be careful not to damage the main roots.
Watering Wisdom: That initial 10-gallon deep watering in Step 3 is critical—it should soak down 6-12 inches. I use a garden hose with a slow setting or a watering can with a long spout to reach deep. The key is getting water to the edges of the root ball, not just the center. After 2-3 days, water again to help settle the mulch, but don't overdo it—roots need oxygen too.
Mulch Matters: When applying that 2-3 inch mulch layer, I always keep it 6 inches away from the trunk to prevent rot. A good trick is to create a little mulch volcano shape—this helps water flow toward the roots instead of pooling against the trunk. I prefer wood chips because they break down slowly, but shredded bark works too for the first year.
Pro Tips for Tree Planting Process
- Here's what I've learned from years of planting trees that grow strong and healthy for decades.
- Location is Everything: Before digging, scout the area for at least 6+ hours of direct sunlight daily.
- Root Ball Preparation: When loosening the root ball in Step 2, I make sure to gently separate any circling roots with my fingers first.
Frequently asked questions
Got questions about planting trees and ensuring strong root growth? You’re not alone! Here are some of the most common concerns—plus straightforward answers to help you get started with confidence.
When is the best time to plant a tree for the strongest roots?
The ideal window is early spring or fall when temperatures are mild, and rain is frequent. Avoid extreme heat or frost—roots struggle in these conditions. If you must plant in summer, water deeply and mulch to retain moisture. Pro tip: Bare-root trees (sold without soil) can be planted year-round, but container-grown trees thrive best in cooler months.
How deep should I dig the hole for my tree?
The hole should be twice as wide as the root ball but only as deep as the container or root ball’s height. Planting too deep can suffocate roots, while a shallow hole risks instability. Loosen the soil at the bottom to encourage root spread. Never amend the planting hole—mix soil amendments into the backfill instead.
How often should I water a newly planted tree?
Water deeply 2–3 times per week for the first year, soaking the root zone (about 12–18 inches down). After that, reduce to once a week unless it’s unusually dry. Overwatering can harm roots, so check soil moisture—stick your finger 2 inches down; if it’s dry, water again. Mulch helps retain moisture and regulate temperature.
Can I plant a tree in clay soil, or should I replace it?
Clay soil isn’t a deal-breaker! Amend it with compost or organic matter (like peat moss or aged manure) to improve drainage. Avoid heavy tilling—it can compact the soil further. Choose native or clay-tolerant species (e.g., oak, willow, or dogwood) for best results. If drainage is poor, consider raised beds or swales (shallow trenches) to redirect water.
What should I do if my tree’s leaves turn yellow or wilt after planting?
Yellowing leaves often signal overwatering, underwatering, or root stress. Check the soil: if soggy, reduce watering; if dry, increase frequency. Wilting could mean transplant shock—trim wilted leaves to redirect energy to roots. Ensure the tree is staked only if necessary (most trees need minimal support). If problems persist, test soil pH or consult a local arborist.
Wrapping up and next steps
Planting a tree isn’t just about digging a hole—it’s about nurturing life and shaping the future of your landscape. By following the right tree planting process, from selecting the perfect spot to giving roots the space they need, you’re setting the stage for years of growth and beauty. 🌱
Ready to take action? Start small—whether it’s a single tree or a community project—and watch your efforts blossom into something extraordinary. Grab your tools, get outside, and plant with purpose!