Pruning
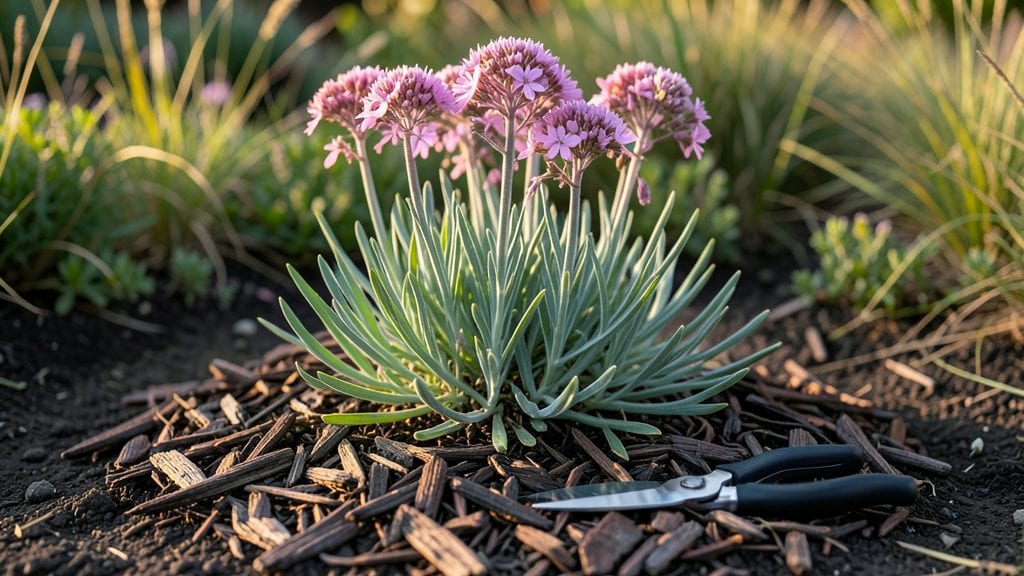
Pruning sedum plants transforms them from scraggly survivors into showstopping garden stars—here’s how to do it right. 🌿 I’ve spent years watching sedum go from floppy to flourishing with just three strategic cuts a year, and the secret isn’t complicated: timing, tools, and knowing what to snip (and what to leave).
Most gardeners overlook sedum’s natural resilience, but these plants reward precision. You’ll need sharp pruning shears, a sunny day, and about 15 minutes per plant—no fancy equipment, just clean cuts.
The key is working with the plant’s growth cycle: late winter for cleanup, summer for shaping, and fall for light maintenance.
After pruning, your sedum will bounce back with denser foliage and brighter blooms, often within weeks. Succulent types like ‘Autumn Joy’ handle aggressive cuts, while ornamental varieties like ‘Dragon’s Blood’ need gentler touches. The results? Plants that stay compact, bloom longer, and resist pests better than unpruned neighbors.
This method works for ground covers, border plants, and even container sedum—just adjust the timing for your climate. Let’s get those shears ready and turn your sedum into the star of the show.
📚 In This Guide
- What you need
- Instructions
- Tips and common mistakes
- Wrapping up and next steps
What you need
- ● Sharp pruning shears (bypass or anvil type) – 1 pair (sterilized with rubbing alcohol to prevent disease).
- ● Clean, sharp scissors or garden knife – For smaller cuts (great for delicate stems).
- ● Gloves – 1 pair (gardening or nitrile-coated for grip and protection).
- ● Disinfectant – Rubbing alcohol (70%+) or hydrogen peroxide (3%) (to sterilize tools between cuts).
- ● Compost or potting mix – Small bag (5-10 gallons) (for repurposing cuttings or amending soil).
- ● Watering can or hose with a gentle nozzle – For post-pruning hydration.
- ● Rooting hormone – Gel or powder (speeds up propagation if you’re saving cuttings).
- ● Small pots or trays – 4-6 inch pots (for propagating new plants from trimmings).
- ● Mulch (gravel or organic) – To prevent rot around the base after pruning.
- ● Plant markers – If you’re experimenting with different sedum varieties.
Step-by-step guide for pruning sedum plants
Sedum thrives when pruned strategically—here’s how to keep yours lush year-round with just three simple trims.
🌿 Step 1: Late Winter Cleanup (Before New Growth)
Start in late winter or early spring (February-March in most climates) when sedum is still dormant. This is your chance to remove dead foliage and reshape the plant for the season. Grab your pruners and cut back any brown, brittle stems to 1-2 inches above the soil line—this prevents disease and encourages fresh growth.
Look for stems that feel hollow or snap easily; these are dead and should go. Avoid cutting into healthy green stems, even if they look tired. Sedum stores energy in its base, so trimming too aggressively now will delay spring regrowth. If your sedum has woody stems, thin out the oldest ones completely to improve airflow.
☀️ Step 2: Mid-Summer Thinning (After Flowering)
After sedum blooms (typically June-August), it’s time to tidy up. Wait until 50% of flowers have fadedjust above a leaf node where new growth can emerge.
This step prevents leggy growth and keeps the plant compact. I like to step back and assess the shape—if one side looks sparser, focus pruning there. Avoid heavy pruning now; sedum stores energy in its leaves, and aggressive cuts can stress the plant. If your sedum is trailing, trim the longest stems to encourage bushier growth.
✂️ Step 3: Fall Preparation (Before Frost)
In October-November, before the first hard frost, give sedum one last trim. Remove any remaining dead or diseased stems, but leave healthy foliage intact—it provides winter protection for the crown. Cut back only what’s clearly unsightly or damaged, using sharp pruners to avoid tearing stems.
This final trim ensures a cleaner look and reduces pests overwintering in debris. If your sedum has seed heads you’d like to preserve, leave a few; otherwise, snip them back to 3-4 inches above the base. Mulch lightly around the base with 2-3 inches of organic mulch (like shredded leaves) to insulate roots through winter.
⏰ Step 4: Optional Light Pruning in Late Summer (For Trailing Varieties)
If you grow trailing sedum (like Sedum morganianum), you can do a light trim in late July-August to encourage bushier growth. Pinch back the tips of the longest stems by ½ inch—this stimulates branching and prevents the plant from becoming too leggy. Work on a dry day to avoid spreading disease.
This step is purely aesthetic and optional. If your sedum is already compact, skip it—over-pruning can stress the plant. Focus on removing only the most unruly stems, and avoid cutting into woody sections. Trailing sedum is forgiving, so don’t stress about perfection; a little shaping goes a long way.
Tips & tricks for pruning sedum plants
A few strategic tricks will transform your sedum from scraggly to showstopping—here's how to avoid common mistakes and get the most out of each trim.
Tool Tip: Invest in a pair of sharp, clean pruners—dull blades tear stems, inviting disease. I sterilize mine with rubbing alcohol between cuts on diseased plants. For woody stems, use loppers instead, and always make clean cuts at a slight angle to prevent water pooling.
Seasonal Timing Secret: The February-March late winter trim is your reset button—don't rush it! Wait until your last frost date has passed, but before new growth appears. I test by gently squeezing stems: if they feel crisp and snap easily, they're ready. For trailing varieties, this is also when you should remove any leggy growth that's out of character.
Visual Cue for Step 2: When trimming after flowering in June-August, look for the 50% faded flowers rule—this ensures you preserve next year's seed heads. I like to hold my hand about 6 inches from the plant to spot uneven growth. If one side looks sparse, that's where I focus my cuts to maintain balance.
Mulch Matters: That 2-3 inches of organic mulch in fall isn't just decoration—it's insulation. I use shredded leaves because they break down slowly, releasing nutrients back to the soil. Apply it after your final trim but before hard frost hits. This simple step can mean the difference between winter survival and spring die-off for your sedum.
Pro Tips for Pruning Sedum Plants
- A few strategic tricks will transform your sedum from scraggly to showstopping—here's how to avoid common mistakes and get the most out of each trim.
- Tool Tip: Invest in a pair of sharp, clean pruners—dull blades tear stems, inviting disease.
- Seasonal Timing Secret: The February-March late winter trim is your reset button—don't rush it!
Frequently asked questions
Got questions about keeping your sedum plants thriving with the right pruning? Here are some of the most common ones—and their answers!
When is the best time to prune sedum for maximum blooms?
Prune sedum after it blooms in late summer (around August-September) to encourage a second flush of flowers. For shaping, trim back leggy growth in early spring (March-April) or late fall (October-November). Avoid pruning during active bloom—this can reduce flower production.
How much can I cut back without harming the plant?
You can safely remove up to one-third of the plant’s height at a time. For sedum, this usually means cutting back to about half the plant’s mature height. Over-pruning (cutting more than 50%) may stress the plant, but sedum is resilient—it’ll bounce back with proper care!
What if my sedum looks sad after pruning?
If your sedum appears wilted or stressed post-pruning, it’s likely adjusting to the trim. Keep it well-watered (but not soggy) for a week or two, and avoid fertilizing until new growth appears. Sedum stores water in its leaves, so it’s tougher than it looks—patience pays off!
Should I prune sedum in winter?
Light pruning in late winter (February) is fine to remove dead or damaged growth, but avoid heavy cuts. Sedum is semi-dormant in winter, and aggressive pruning can delay spring growth. Focus on cleanup rather than shaping—save major trims for spring or fall.
Can I propagate sedum from my pruned cuttings?
Use your pruned sedum cuttings to propagate new plants. Let cuttings dry for 1-2 days to callus, then place them in well-draining soil. Keep them lightly moist until roots form (usually 2-4 weeks). It’s a great way to expand your sedum collection for free!
Wrapping up and next steps
Pruning your sedum plants is a simple yet powerful way to keep them thriving year-round!
By mastering the three seasonal trims—early spring, late summer, and winter—you’ll encourage lush growth, prevent overcrowding, and even extend their lifespan. 🌱 With the right tools and timing, your sedum will reward you with vibrant blooms and sturdy foliage for seasons to come.
Ready to take the next step? Grab your pruners and schedule your first trim—your sedum’s health (and your green thumb!) will thank you. Happy pruning! ✂️