Vegetables
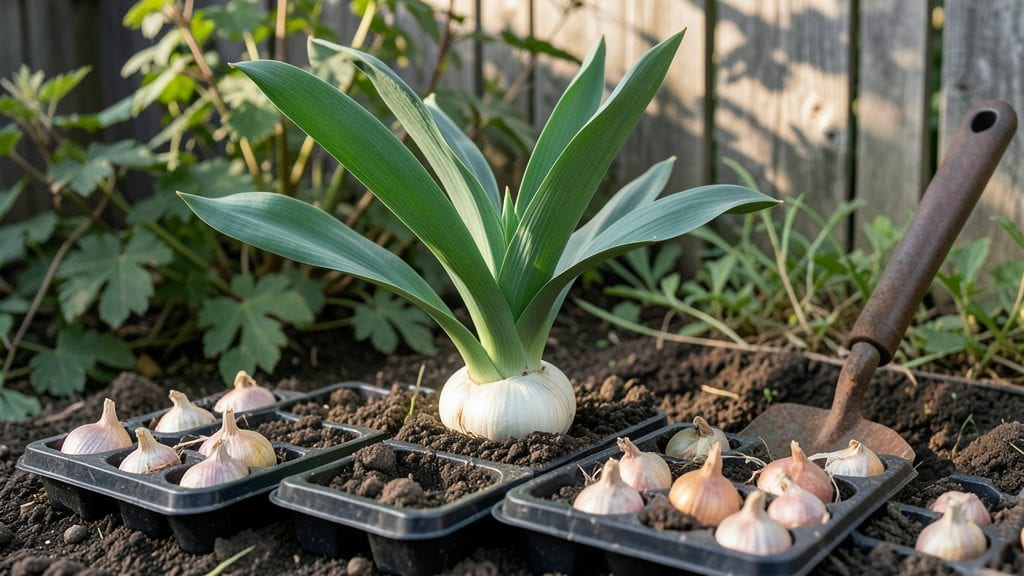
My garlic rotation planting strategy saved my garden from aphid infestations and soil fatigue—something every gardener should know. 🌱 The secret isn't just planting garlic; it's where and when you put it in the cycle.
I learned the hard way that planting garlic in the same spot year after year leads to stunted growth and stubborn pests, no matter how much compost I added.
Here's the game-changer: garlic thrives after legumes like peas or beans, which naturally replenish nitrogen, and it breaks pest cycles by disrupting the life stages of soil-borne diseases.
The ideal sequence is planting garlic in fall for a summer harvest, then following it with a heavy feeder like tomatoes or peppers—never another allium. This keeps your soil balanced and your harvests strong.
You'll notice fewer pests, healthier plants, and soil that stays rich for years. The first year might take extra planning, but by your second rotation, you'll see garlic bulbs that are larger, tighter, and more flavorful than anything you've grown before.
Plus, the timing works for both spring and fall harvests, giving you fresh garlic almost year-round.
Works for any garden size, from small urban plots to full-acre farms. The key is tracking your rotation on a simple garden map—trust me, it's easier than it sounds, and the payoff is worth it. Let's get that garlic planted where it belongs in the cycle.
📚 In This Guide
- What you need
- Instructions
- Tips and common mistakes
- Wrapping up and next steps
What you need
- ● Garlic bulbs: 10–20 cloves (organic, untreated preferred; choose hardneck or softneck varieties based on your climate).
- ● Well-draining soil: Loamy or sandy soil with a pH of 6.0–7.0 (test kits available at garden centers).
- ● Compost or aged manure: 2–3 gallons per planting area (for nutrient-rich soil).
- ● Fertilizer: Balanced organic fertilizer (e.g., 5-5-5 or 10-10-10) or compost tea.
- ● Garden fork or tiller: For aerating soil (rent or borrow if needed).
- ● Hand trowel or transplanter: For planting cloves 2 inches deep.
- ● Measuring tape or ruler: To space cloves 4–6 inches apart in rows 12 inches apart.
- ● Mulch (straw or leaves): 2–3 inches thick to retain moisture and suppress weeds.
- ● Watering can or hose with a gentle nozzle: For deep, infrequent watering.
- ● Garden gloves: To protect hands while handling soil and cloves.
- ● Row covers or netting: To deter pests like birds or rabbits.
- ● Soil moisture meter: For monitoring water levels (especially in dry climates).
- ● Plant markers: To label varieties and rotation schedules.
- ● Garlic press or knife: For post-harvest prep (if you plan to cook with your harvest!).
Step-by-Step instructions for implementing garlic rotation planting
Here's how to transform your garden into a pest-resistant powerhouse using garlic's natural cycle.
🌱 Step 1: Divide Your Garden Into Four Sections
Start by sketching your garden layout and marking four distinct planting zones. Each zone will host garlic for one year before rotating to the next. Label them A, B, C, and D for easy tracking. I use colored stakes to mark boundaries—bright pink for Zone A, green for B, and so on. This visual system prevents confusion when it's time to rotate.
Keep each zone roughly the same size so you can evenly distribute garlic cloves. If your garden is small, you can use containers or raised beds as separate zones. The key is maintaining spatial separation between garlic plantings from year to year. This prevents soil-borne diseases and pests from building up in concentrated spots.
🌿 Step 2: Plant Garlic in Autumn for Spring Harvest
In Zone A, plant your first garlic cloves in late October to early November when soil temperatures drop below 60°F. Break apart a whole bulb into individual cloves, keeping the papery skin intact. Plant each clove 2 inches deep, pointy end up, with 6 inches between plants. Space rows 12 inches apart to allow airflow and prevent fungal diseases.
Mulch heavily with 4-6 inches of straw immediately after planting to insulate the cloves through winter. This protects them from freezing and thawing cycles that can damage emerging shoots. Water lightly after mulching, then only when the ground feels dry 2-3 inches below the surface. You'll see green shoots in early spring—that's your signal everything is working.
⏰ Step 3: Rotate Zones Annually for Continuous Protection
After harvesting Zone A in late spring, move garlic planting to Zone B the following autumn. Repeat this sequence so each zone gets garlic only once every four years. I keep a simple chart tracking which zone had garlic last and when it's safe to replant. This breaks disease cycles and prevents pest buildup that would otherwise plague your garden.
When rotating, remove all garlic debris from the previous year's zone. Composting old garlic plants elsewhere prevents reinfesting the same soil. If you notice any signs of disease like rust or mold, withhold garlic from that zone for an extra year. Healthy rotation means healthy garlic—and fewer headaches for you.
☀️ Step 4: Maintain Consistent Care Across All Zones
All four zones should receive the same care: well-draining soil, full sun exposure, and moderate watering. Fertilize each zone in early spring with 1-2 inches of compost worked into the top 6 inches of soil. Avoid fresh manure, which can burn garlic's delicate roots. I also side-dress with ½ cup of 5-10-10 fertilizer per 10-foot row when shoots reach 6 inches tall.
Watch for signs of stress like yellowing leaves or stunted growth. These often indicate either too much water or not enough. Garlic needs 1-1.5 inches of water weekly, but never let it sit in soggy soil. The rotation system works best when all zones get equal treatment—this ensures consistent harvest quality across your entire garden.
✂️ Step 5: Harvest and Prepare for Next Year's Rotation
When lower leaves turn brown and 60% of the stems flatten naturally, it's harvest time. Gently dig up bulbs, let them dry in the shade for 2-3 weeks, then braid or store in a cool, dark place. After harvest, mark Zone A as "ready for rotation" and prepare to plant garlic there again in three years. This four-year cycle gives soil time to recover and prevents garlic-specific pests from becoming established.
The real magic happens when you see your garden thriving without the usual garlic wilt or rust problems. Healthy rotation means fewer diseases, better yields, and soil that stays productive year after year. Plus, you'll always have fresh garlic ready when you need it—whether for cooking or natural pest control around your garden.
Tips & tricks for perfect garlic rotation planting
Let me save you from the headaches I had when first trying this system—these tricks make all the difference for healthy, productive garlic year after year.
The Soil Temperature Secret: That 60°F soil temperature in Step 2 is crucial for winter survival. Use a soil thermometer to check—if it's above 60°F, wait a few more days. Cold soil helps prevent rot and encourages strong root development before winter sets in. I've planted too early when soil was still warm, and my garlic struggled through winter.
Mulching Matters: Don't skimp on that 4-6 inches of straw mulch! The extra inch at the top helps insulate against extreme temperature swings. I learned this the hard way when a harsh winter killed my garlic—now I double-check my mulch depth before the first frost. For extra protection in cold climates, add a layer of leaves on top of the straw.
Visual Disease Detection: In Step 3, when rotating zones, watch for these early warning signs: purple streaks on stems (sign of purple stripe disease) or white mold on leaves (sign of botrytis). If you spot either, withhold garlic from that zone for an extra year. I've caught rust too late before, and it took two seasons to fully recover that zone.
Harvest Timing Tip: That 60% stem flattening in Step 5 is your best indicator—don't rush it! The bulbs need all that time to mature fully underground. I've harvested too early when stems were still upright, and my garlic was small and pithy. Patience pays off with larger, more flavorful bulbs that store better too.
Pro Tips for Garlic Rotation Planting
- Let me save you from the headaches I had when first trying this system—these tricks make all the difference for healthy, productive garlic year after year.
- The Soil Temperature Secret: That 60°F soil temperature in Step 2 is crucial for winter survival.
- Mulching Matters: Don't skimp on that 4-6 inches of straw mulch!
Frequently asked questions
Got questions about garlic rotation planting?
You’re not alone! Here are answers to the most common concerns—from timing tricks to troubleshooting tips—so you can grow garlic like a pro.
How often should I rotate garlic crops in my garden?
Rotate garlic every 3–4 years to break pest and disease cycles. For example, if you planted garlic in 2023, wait until 2026 (or later) to replant in the same spot. This prevents soil-borne issues like Fusarium and keeps yields strong. Pro tip: Keep a garden map to track rotations!
When is the best time to plant garlic for rotation?
Plant garlic in fall (6–8 weeks before the ground freezes) for a summer harvest. For year-round rotation, stagger plantings: hardneck varieties in fall, softneck in early spring (if your climate allows). Avoid planting garlic where alliums (onions, leeks) grew last year—rotate with legumes or brassicas instead.
What if pests still attack my garlic after rotation?
Rotation alone won’t solve all pests (like aphids or thrips). Try these fixes:
- Interplant with pest-repelling herbs like chives or marigolds.
- Use row covers early in the season to block flying insects.
- Apply neem oil or insecticidal soap as a preventive spray.
If soil-borne diseases persist, test your soil pH (ideal: 6.0–7.0) and amend with compost.
Can I rotate garlic with other crops if I don’t have a big garden?
Even in small spaces, rotate garlic with:
Good Rotation Partners
Avoid Planting After
Leafy greens, beans, peas, or tomatoes
Onions, leeks, shallots, or other alliums
Carrots, beets, or cucumbers
Potatoes or garlic (family-wise)
Use containers or raised beds to maximize rotation flexibility!
What if my garlic doesn’t survive the winter in rotation?
Cold-hardy garlic (hardneck varieties) thrives in winter, but mulch heavily (4–6 inches of straw) to insulate bulbs. If your climate is extremely cold (<10°F), plant softneck garlic in spring instead. Signs of winter damage (shriveled leaves) are normal—focus on next year’s growth, not current foliage.
Wrapping up and next steps
Mastering garlic rotation planting isn’t just about maximizing harvests—it’s about nurturing healthier soil and stronger crops year after year. 🌱 By breaking the cycle of pests and diseases, you’re setting up your garden for long-term success, one bulb at a time.
Now that you’re equipped with the how and why, it’s time to roll up your sleeves and put this strategy into action!
Start small—even a single bed or a few cloves can make a difference. Track your progress, adjust as needed, and soon, you’ll be reaping the rewards of pest-free, thriving garlic and a garden that works with nature, not against it. Happy planting! 🌟